 EseeCloud Help Center
Boot Logo Settings
How to change the NVR boot logo via USB upgrade or remote-control key sequence, and what to check when the boot logo cannot be updated.
Frequently asked questions about changing and troubleshooting the NVR boot logo.
How to change the boot logo
-
USB drive upgrade.
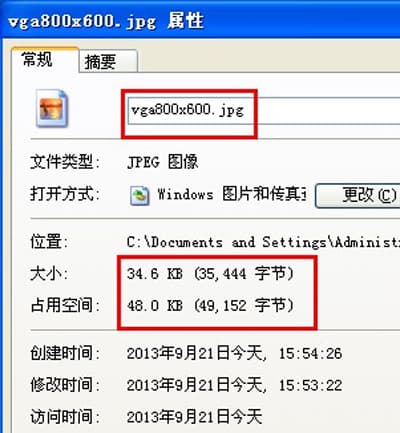
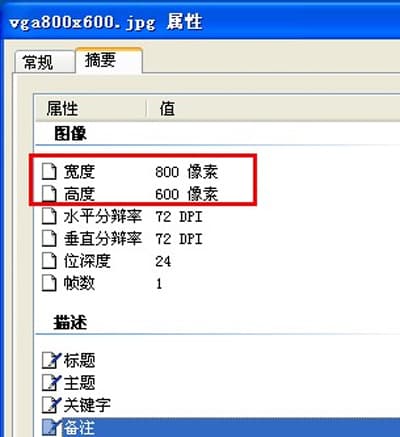
Prepare two boot logo images, with resolutions of 800x600 and 720x576 respectively. Each file must be smaller than 64KB. Name the image files
vga800x600.jpgandcvbs720x576.jpg. Copy them to the root directory of a USB drive (FAT32 format). Plug the USB drive into the NVR's USB port. Go to System Settings → System Management → Software Upgrade → Offline Upgrade, select the boot screen, and click Upgrade.
-
Panel buttons or remote control.
Plug the USB drive into the NVR's USB port. Press the direction keys on the panel or remote control to bring up the modification menu: Up Up — Down Down — Left Right — Left Right. When "logo reload" shows "vga800x600.jpg loaded" and "cvbs7200x576.jpg loaded", click "OK" to finish changing the logo. Click "return" to exit.
The boot logo cannot be changed
-
Check whether the image files are named exactly as required:
vga800x600.jpgandcvbs720x576.jpg. If there is any error, the system cannot recognize them. Check whether each file is smaller than 64KB; if it exceeds 64KB, the system will not recognize it either. -
Re-save the images using a drawing tool, then upgrade again.