 EseeCloud Help Center
Indoor Wireless Battery Wi-Fi Camera
Quick User Guide for the YESKAMO indoor wireless battery Wi-Fi pan and tilt camera — product details, installing the Yeskamo app, connecting to Wi-Fi, and adding the camera by Bluetooth or QR code.
Quick User Guide for the YESKAMO Indoor Wireless Battery Wi-Fi Camera — a rechargeable pan and tilt camera with PIR detection, white light and infrared night vision.
Guarantee
Activate your warranty within 7 days and get a 2-year extended warranty on your YesiHome security products.
Statement
- Thank you for purchasing this product. We are committed to providing our customers with a reliable security solution and protecting their property at all times.
- This is the quick setup guide that just helps you get familiar with this product faster. For more information about the product, please refer to the complete user manual.
- Although we try our best to make the manual complete and accurate, there might still be some discrepancies due to timely updating of products. The detailed information is according to the final products.
Product Details
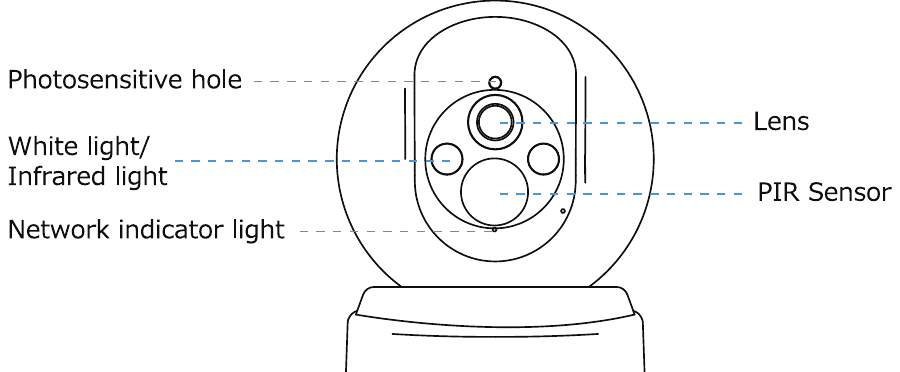
- Photosensitive hole
- White light / Infrared light
- Network indicator light
- Lens
- PIR Sensor
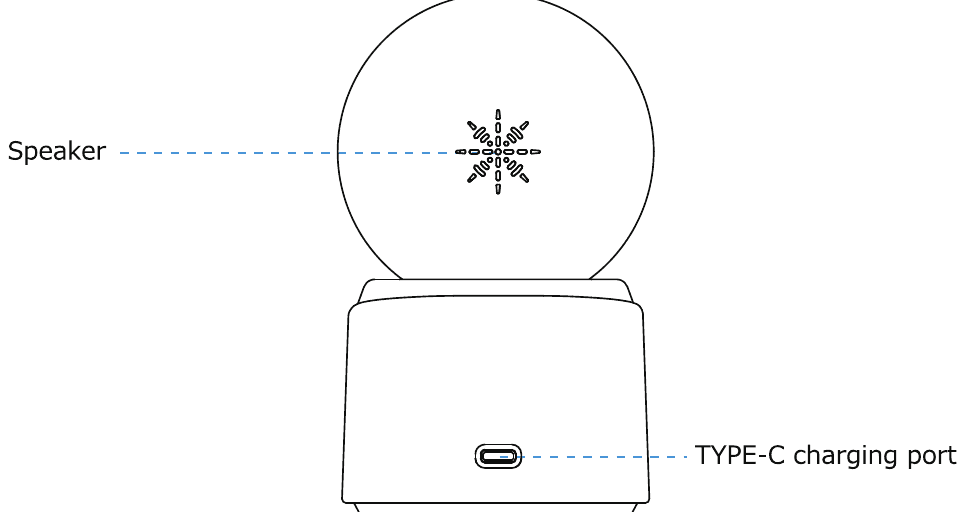
- Speaker
- TYPE-C charging port
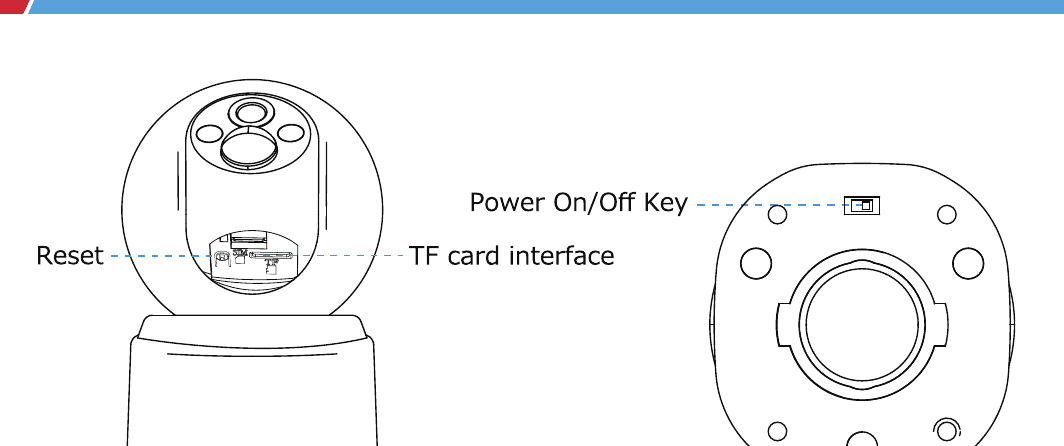
- Reset
- TF card interface
- Power On/Off Key
Camera Buttons
| No. | Camera Buttons | Function |
|---|---|---|
| 1 | Power button | Turn the power switch to "ON" and the device starts to start. After powering on the camera, wait about 8 seconds until you hear the "Please configure network" prompt and the network indicator flashes red rapidly. |
| 2 | Reset button | After powering on the camera, press and hold the reset button for about 6 seconds until you hear the "deng" prompt, then release it. Wait for the camera to reset and restart, then hear the "Please configure network" prompt again before attempting network configuration again. |
LED Status
| No. | LED Status | Function |
|---|---|---|
| 1 | Slowly flashing red | The indicator flashes red slowly when the WiFi connection is established but the network is disconnected. |
| 2 | Fast flashing red | The indicator flashes red rapidly when waiting for a WiFi connection. |
| 3 | Continuous blue | The indicator lights solid blue when the network is successfully connected. |
Warning
- Please charge the camera for 6 to 8 hours before installation and use. After adding to APP, you can check the charging icon in the upper left corner of the app's image preview screen. The battery icon is yellow during charging and turns green when fully charged.
- Please use a DC5V power adapter to charge the camera.
- If the power switch is turned to ON but the indicator light is not on, please charge the camera for 1 hour and then restart the camera to configure the network.
- The camera can use a Micro SD card to store alarm recordings. It is recommended to insert a Micro SD card (2-128GB) when the camera is powered off, otherwise the SD card may not be recognized. When installing the Micro SD card, pay attention to the card's orientation. After installation, you need to format it in the device menu of the app.
Installing the Yeskamo App
1. Connection
Allow "YESKAMO" to access mobile data and WLAN, so you can add devices. Allow "YESKAMO" to receive notifications, to receive alert notifications when motion is detected.
Search for the free app "YESKAMO" in the App Store or Google Play (the download QR codes in the manual are common to both iOS and Android). If you cannot find the app named YESKAMO, please search for the app named Eseecloud.
For a detailed walkthrough of registering and logging in, see the EseeCloud App User Guide.
2. Register Account
- Click "Register".
- Follow the steps to complete your account registration.
- Login.
Advice
- Make sure you use the correct email address.
- Select the correct region.
- When registering for a new account, please select the region where you are actually located. (Cross-region data sharing between your YESKAMO account is not supported.)
3. Connect to Wi-Fi (Supports Both 2.4GHz and 5GHz Wi-Fi)
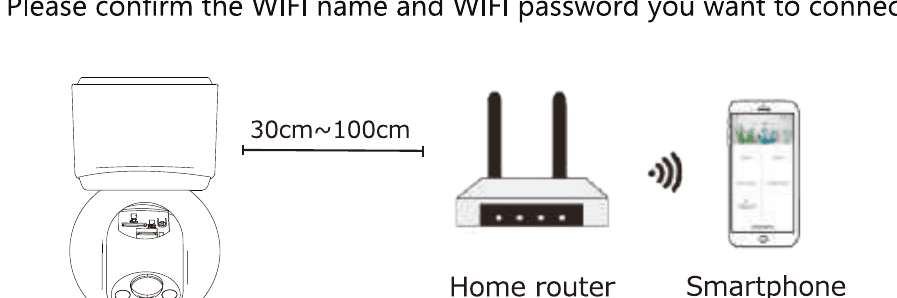
- Place the camera and smartphone 1 to 3 feet (30 to 100 cm) away from the router to ensure a strong Wi-Fi signal.
- Please confirm the WIFI name and WIFI password you want to connect to.
Adding the Camera
Method 1: Bluetooth Connection
Pre-network configuration checks:
- Ensure the camera indicator light is flashing red rapidly.
- Turn on WiFi and Bluetooth on your phone.
- Ensure that all permissions requested by the app are granted upon first use.
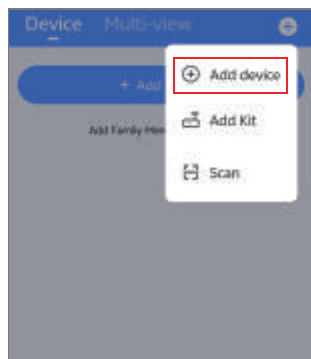
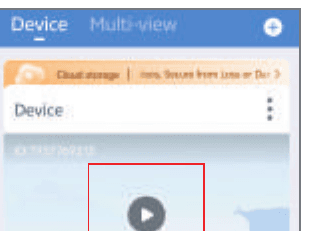
Step 1: Click "Add Device" on the app's homepage to enter the device addition page.
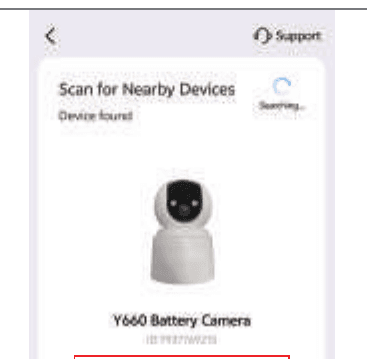
Step 2: The device addition page automatically displays the detected Y660 camera's image and name alongside its corresponding product ID. Click "Add this Device" to proceed to the Wi-Fi selection page.
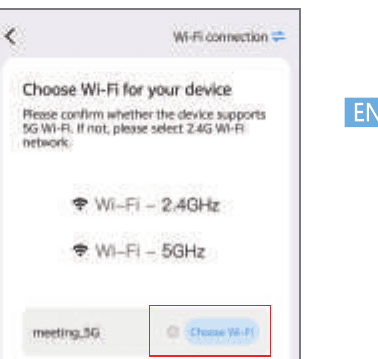
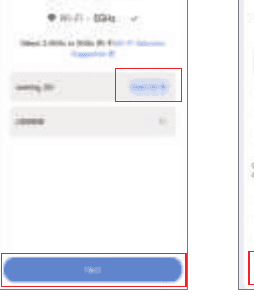
Step 3: Click "Choosing a WiFi" to select the WiFi name and enter the correct WiFi password. Click Next and follow the prompts to connect to WiFi.
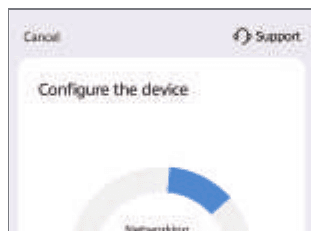
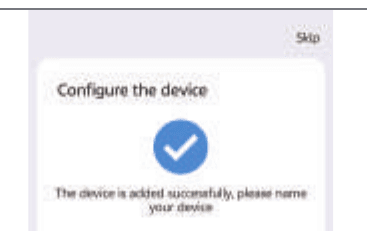
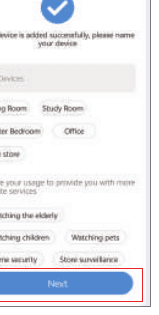
Step 4: After successful network configuration, the page will be displayed for the device name. Continue clicking "Next" until the main page appears.
Note:
- If the device is powered on but its bluetooth name cannot be detected, press and hold the reset button for approximately 6 seconds until a "deng" sounds. Wait for the device to restart before attempting to search again.
- Should the device remain inactive for approximately 10 minutes after powering on, it will transition to standby mode. The indicator light will cease flashing, and the device's bluetooth will become undetectable. At this point, pressing the reset button once or powering the device off and on again will reactivate it.
- Upon successful pairing, the current account will be designated as the primary account. Other users wishing to add the same device must do so via device sharing initiated by the primary account.
Method 2: QR Code Connection
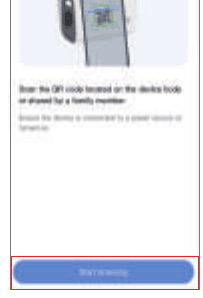
Step 1: Tap "Add Device" on the app's home screen to access the device addition page. Select "Scan code added" to enter the QR code scanning interface.
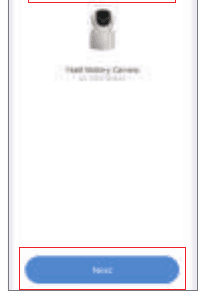
Step 2: Aim your mobile camera at the ID QR code on the camera body. Confirm the device is powered on and reset as prompted before the Y660 device can be detected. Tap to add this device.
Step 3: Select the desired WiFi network name and enter the correct WiFi password. Tap Next to begin connecting to the WiFi as prompted.
Step 4: Once the progress bar displays 100% and network configuration succeeds, the screen will automatically redirect to the device name page. Continue tapping "Next" until the main interface appears.
Precaution
We have a variety of connection methods. If the code scanning method fails to connect, we can consider using Bluetooth link; for details, you can go to our detailed manual, the QR code of the detailed manual is on the upper right corner of the home page. Thank you for your support.
If network connection fails, you can troubleshoot by following these steps:
- Check that the Wi-Fi password is entered correctly, paying attention to capitalization, special characters, and spaces.
- If the device is not in the network connection waiting state, reset it and wait for it to restart before reconnecting.
- Check if the router has MAC address filtering or blacklisting enabled to restrict new device access. Modify the router configuration or try another network connection (for example, test the hotspot connection on your phone).
- There may be a problem with the router access. You can try restarting the router and then re-configuring the network.
- If the connection still fails, please contact our customer service staff for assistance.
Installation Advice
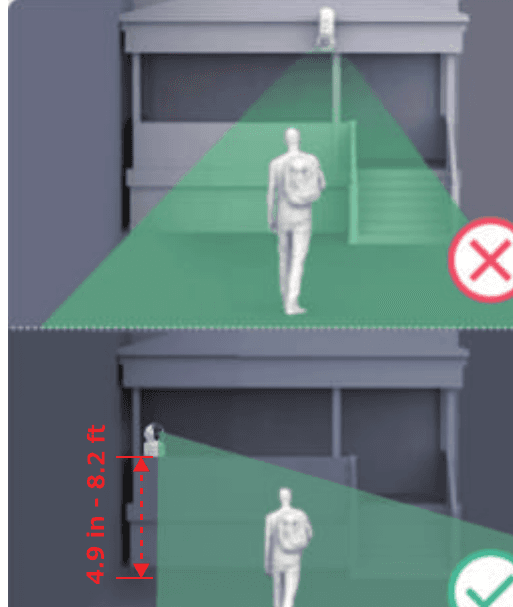
- In order to avoid frequent alarms and rapid battery consumption, do not point the camera directly at the road or in crowded places.
- It is recommended that the installation height does not exceed 2.5 metres (8.2 feet).
- Adjust the target area within the red monitoring zone to enable PIR-triggered recording (see right-hand diagram).
- When installing the device, ensure that the moving object passes through the camera lens field of view to trigger the PIR detection. The alarm may not be triggered if the camera is facing the direction of the moving object.
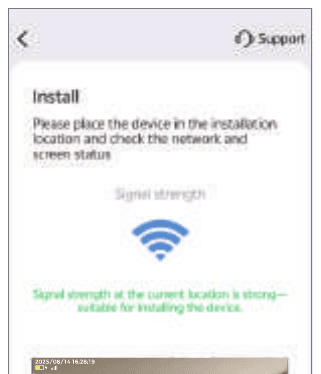
The app's Install screen lets you place the device in the installation location and check the network and screen status. When the signal strength at the current location is strong, it is suitable for installing the device.
Live Preview Interface
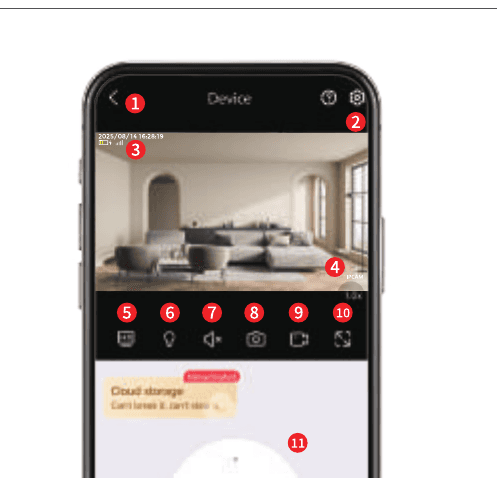
- Exit the preview page
- Open the device main menu
- Battery indicator icon
- Electronic zoom
- SD/HD preview resolution switch
- Manually turn on the white light
- Audio monitoring
- Manual snapshot
- Manual recording
- Full-screen preview
- PTZ control
- Video playback entry
- Alarm information list
- Device photo album
- Voice intercom function
- Manually turn on the alarm
- More function entry
Note: If a lightning icon appears next to the battery icon, the device is charging. If the battery icon becomes full, it is fully charged.
Technical Support
If you need help, please contact Yes iHome before returning your product. Most questions can be answered through our online support center at www.yeskamo.com or our after-sale mailbox at [email protected].
You can also browse our Help Center for more troubleshooting and FAQ.
WiFi Floodlight Security Camera
Quick User Guide for the YESKAMO WiFi Floodlight Security Camera and its 2-in-1 NVR Recorder with Monitor — appearance, connection, phone remote view, two-way audio, siren alarm, floodlight control, adding cameras and hard-drive installation.
Indoor Security Camera
Detailed Electronic Manual for the YESKAMO Y661 Window Camera — product details, LED light guide, installing the Yeskamo App, Bluetooth and QR code setup, and mounting the camera on window glass.